I love making holiday projects. My card is one I designed for our club meeting last month. I had told them we would do either a card or a gift card holder; at the last minute I decided to make it both! I love the versatility of the Festival of Prints Designer Series Paper stack. (Preview: there's a new stack coming out in the Spring Catalog!)
My initial card was the middle left. During the club demonstration, I made the on the middle right. The others were made by some of my club members.
 | |
| Supplies used: Card Stock: Early Espresso, Cherry Cobbler, Very Vanilla, Island Indigo, Crumb Cake DSP: Festival of Prints Stamp sets: Scentsational Season, Curly Cute Ink: Early Espresso, VersaMark, Cherry Cobbler, Lucky Limeade Tools: Big Shot, Holiday Collection Framelits, 2 3/8" Scallop Circle Punch, Stampin' Trimmer, Simply Scored, Bone Folder, Heat Tool Adhesive: SNAIL, Tombow Other: Cherry Cobbler and Sparkling Silver Dazzling Details, various embossing powders |
 | |
| Inside view |
This is definitely a great way to dress up candy cane treats for the holidays.
 | |
| Supplies used: Punches: Curly Label, Word Window, Boho Blossom Markers: Basic Black, Pumpkin Pie Adhesive: Glue Stick Embellishments: Metallic Brads |

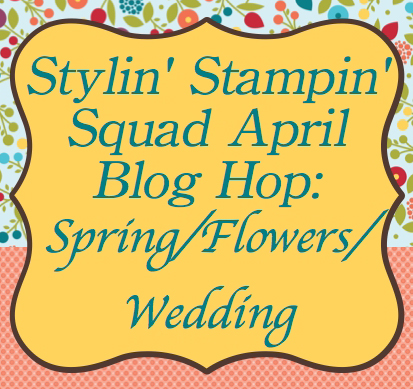
Blog Hop Participants:
- Shellie G. of Creative Electica
- Annie L. of Love Me Cards
- Pam S. of Stampin' in the Sun!
- Nancy B. of Lady Stamps-A-Lot
- Rose C. of Stamp with Rose
- Tonya B. of Stampin' with Tonya
- Dawn S. of Dawn's Creative Chalet
- Darcy J. of DJ's Stampin' Place
- Kim R. of Stamping with Kim
- Terry B of Goin' Over the Edge
- Justin K of JK Cards
- Heidi B of Stuck on Stampin'
- Jennifer B of NW Stamper