2.12.2014

Get Bundled Up To Blog Hop


Thank you so much for joining us for our February Stylin' Stampin' Squad Blog Hop! Sale-a-Bration is in full swing and it's one of the BEST specials that Stampin' Up! provides every year! Each of the stops along our hop will give you a bundle of items that you can purchase that will total around $50 and give you a FREE Sale-a-Bration item!! 

You won't want to miss these exclusive Sale-a-Bration items: 


As you hop along, please be sure to comment and show some love on every blog! We are always excited to hear from our followers! You should have just left stop number 4 on the Stylin’ Stampin’ Squad blog hop – Kathy P. of Katrina P's Creative Corner. If so, you are in the right spot. If a link doesn’t work or you get off track, you will find the full blog hop lineup below.

My bundle is all My Digital Studio related. These are the digital items that I put together to create my $50 bundle:
#130646- My Digital Studio Software- $19.95

#136798- Baking Up Love- $6.95

#136821- Love Is All Around- $9.95

#137068- Kaleidoscope- $4.95

#137071- Starburst Punches- $3.95

#137077- Watercolor Wonder DSP- $4.95
#137079- Watercolor Wonder Washi Tape- $2.95


Here are the two projects that I created to showcase these items:


On this scrapbook page, I used the gold Watercolor Washi Tape, but changed the color to Smoky Slate.


For the card, I used the same DSP from the Love Is All Around kit, but I changed the opacity to make it appear a little lighter. Two things that I love about MDS: the color tool and the crop feature. I used the coloring tool on the cupcake for white frosting, chocolate cake, and a grey cupcake liner. With the crop tool, I was able to use two different stamp images from the See Ya Later stamp brush images to create the Happy Birthday. 

For my free Sale-A-Bration item, I chose the "One Big Sale-A-Bration Digital Ensemble" download. This allows me to have almost all of the SAB items accessible through My Digital Studio!

#134976- One Big Sale-A-Bration Digital Ensemble- $24.95 FREE


Use the Next button below to head on over to Kim's blog to see the fabulous projects she has created to share with us today!

http://rydenkim.blogspot.com/2014/02/stylin-stampin-squad-february-blog-hop.html


Blog Hop Participants:

  1. Diana E. of Stampin' Fun with Diana
  2. Cynthia R. of Ink-a-Doodle Creations
  3. Jennifer C. of Happy 2 Scrap 4 Life
  4. Kathy P. of Katrina P's Creative Corner
  5. Darcy J. of DJ's Stampin' Place
  6. Kim R. of Stamping with Kim
  7. Pamela W. of Stinky Tofu
  8. Erica B. of Stamping Starlette
  9. Donna S. of Organized Chaos
  10. Tonya B. of Stampin' with Tonya
  11. Kristina M. Mama's Sanity
  12. Bree R. of Craft-Somnia
  13. Dawn S. of Dawn's Creative Chalet
  14. Anastasia R. of Stampin' Blondie
  15. Darla R. & Nancy K. of Stampin with Darla and Sisters
  16. Pam S. of Stampin' in the Sun
  17. Heidi B. of Stuck on Stampin'

A New Way To Washi

I found this great idea on Pinterest and I just had to try it out! It was a use for washi tape that had never crossed my mind. Any ideas? I'll give you a hint; it has nothing to do with papercrafting.


Ta Da! I used it while painting my nails. To start out, I tore off a small piece of washi tape and folded it in half. Then I cut out a half a heart. Remember how we used to do that in grade school with our rounded edge scissors that barely cut paper?


I had painted all of my nails with the base color and a top coat, because of the type of polish I used. I made sure that was really dry before I put the washi tape on. I pushed the washi tape down on the nail so that there were no bubbles, or space around the edge of the heart. Next, I carefully painted over the top of it with my gold polish.


I let it dry for a bit and then slowly pulled the washi tape off. Be gentle as the edges did want to stay with the polish that was on top of the tape.

Here are a few things I learned while trying this out:
-I don't recommend two sparkly polishes. For more contrast next time I will use a darker, solid base with the gold sparkle.
-the first piece of washi tape I tried was far too long (see picture 1 & 2 in the collage)
-the first cut I made, the heart was too big; it really needs to be the tiniest heart you can cut
-don't cut clear down to the edge of the washi tape with your point, or it is hard to make your heart shape on your nail
-patience (waiting for paint to dry) is a virtue I do not possess
-it is really hard to take pictures one handed
-I took 21 pictures trying to get clear ones to post
-my hands are in worse shape that I realized...hello lotion!

It really wasn't hard to do. I hope you'll give it a shot! Happy Valentine's Day! 

2.11.2014

Bursting With Thanks

Do you have those stamp sets that really don't move you the first time you look at it in a catalog? For me it was Starburst Sayings in the Occasions Catalog. However, I started seeing really cute things made with this set and it started growing on me. Now that I own it, it is quickly becoming my favorite. You might have guessed that, since I'm using it two days in a row!


This card features a technique I have struggled with in the past, Embedded Embossing. I just never felt it looked quite right when I tried it. Today, I think I mastered it! I used the starburst stamp to create a background. To give it some extra dimension, I also used the stamp-off technique. In this case, I stamped twice before inking up again. Next, I used the smallest Starburst framelit to cut pieces from the Kaleidoscope Designer Series Paper. Once I glued those down, I ran the whole layer through the Big Shot with the Honeycomb embossing folder.

I felt that the card needed a little contrast so that my sentiment would stand out. The Basic Black Chevron ribbon came to the rescue. I knew I wanted to use the "Thank you so much" sentiment from Starburst Sayings. (Side note, I love the coordinating framelits! Could you imagine how frustrating it would be cutting THAT out by hand?) I knew I wanted a layer behind the thank you, but the next size up Starburst felt a little too big for this card. Then it hit me, "hexagon punch!" It was the perfect size and tied in with the embossing folder.

A note about adhering everything together. I used glue dots to glue the ribbon to the back of the Whisper White layer. This leaves the front loose and gives the illusion of the sentiment floating. The Crushed Curry Hexagon is attached to the ribbon using Sticky Strip. This way I am sure it is not going to fall off. When gluing down an embossing layer, I always use the Tombow Multipurpose Liquid Glue. Otherwise you could flatten some of the embossing by pushing too hard if you were using SNAIL or a glue stick.

My favorite thing about this card is that it is one big optical illusion! If I look long enough the starbursts seem to be rocking back and forth. While I love the chevron ribbon, it is not nice to my eyes while putting it on a card! My eyes play lots of tricks on me, which could be lupus-related, caused by the lupus meds, or just attributed to the fact that I'm getting old! Does anyone else think the ribbon is wider in the middle than it is on the left side? Oh, and while the ribbon is actually black and white; mixed with the Smoky Slate and Basic Grey on this card, it appears to be black and grey.

Basic Black 3/4" Chevron Ribbon

Hexagon Punch

Kaleidoscope DSP

Starburst Sayings Framelits Bundle

Honeycomb Embossing Folder

Other supplies used:
  Cardstock: Smoky Slate, Whisper White, Crushed Curry
  Ink: Bermuda Bay
  Tools: Paper Trimmer, Simply Scored, Bone Folder, Big Shot, Magnetic Platform
  Adhesive: SNAIL, Tombow Multipurpose Liquid Glue, Glue Dots, Sticky Strip

2.10.2014

Card Sketch


Do you struggle with creating using a card sketch? Sometimes they are harder for me than starting with a blank canvas. Thankfully that was not the case this month! I was instantly inspired when I saw this month's sketch.


My order arrived last week with many fun new products that I couldn't wait to get my hands on. However, since I started working full time last week, I had to wait until the weekend to get inky!


I knew that the birthday greeting from Another Great Year would be perfect in the open space. Initially, I was going to use three of the small Starburst cut-outs in the upper right corner for the banner, but it just didn't look right. So I edited it a little bit.

I had so much fun with Pink Pirouette last week for our color challenge, that I wanted to use it again this week. I grabbed the Color Coach for inspiration for my other colors. It recommended Pool Party and Crumb Cake. Perfect! I used Crumb Cake to stamp the greeting on Pink Pirouette. The rest of the layers feature Tone-on-Tone stamping. (i.e.-Pool Party on Pool Party and Crumb Cake on Crumb Cake) The Celebrate banners across the top are "fussy" cut from one of the stamps from Starburst Sayings.

If today's sketch INKspires you to create, please link up with the post this week at Stylin' Stampin' INKspiration.

Another Great Year

Perfect Pennants

Starburst Sayings Framelits Bundle

Gold Baker's Twine

Other supplies used:
  Cardstock: Crumb Cake, Pink Pirouette, Pool Party
  Ink: Crumb Cake, Pool Party
  Tools: Paper Trimmer, Simply Scored, Bone Folder, Paper Snips, Big Shot, Magnetic Platform
  Adhesive: SNAIL, Tombow Multipurpose Liquid Glue

2.07.2014

Shape It Up


While I would say that 90% of my cards are the "standard" A2 card size (4.25" X 5.5"); I sometimes enjoy mixing it up and creating a shaped card. This is super simple to do with my Big Shot and any of the Framelits that Stampin' Up! has to offer. Today I chose the Banner Framelits currently available in the Occasions catalog through May 31st.


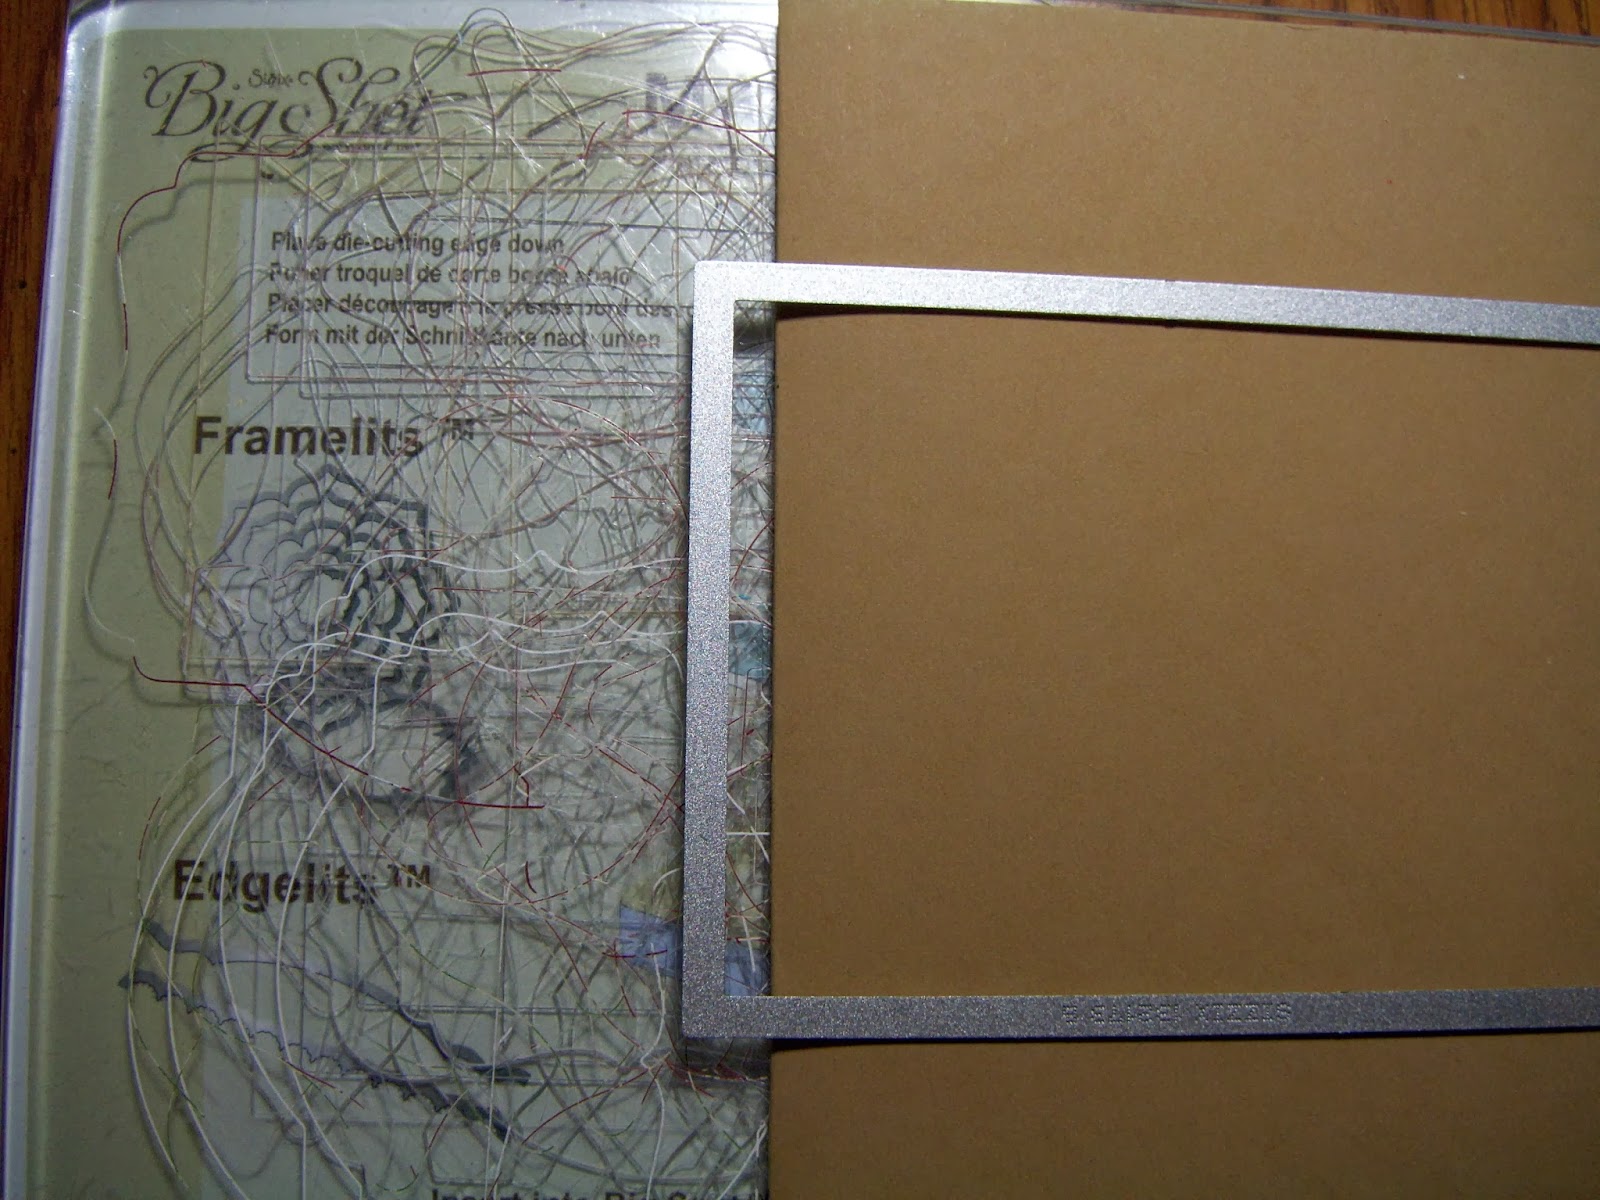
To create a shaped base, you score and fold your cardstock just as you would for any other card. Build your "sandwich" on your cutting platform. For the shaped cards, I highly recommend using the Magnetic Platform so it doesn't shift and you end up with a lopsided card. When placing your framelit on the cardstock, you want the end by your crease to actually be off the top of the crease. This way when it cuts, you still have a creased card.
Perhaps a picture will make it more clear. (Yes my cutting plates are well-loved!)


I used the largest banner in the set for the base. I used the next to smallest one to cut three different patterns from the Fresh Prints Designer Series Paper Stack. The greeting is from the Perfect Pennants stamp set, which coordinates with the Banner Framelits. In fact, you can buy them together in a bundle and save 15%! I used the stamp-off technique on the greeting, which gave it more of a worn look to match the DSP. To stamp-off, ink up your stamp, stamp it on a piece of scratch paper and then stamp on your cardstock without reinking.

I made this card for our Design Team challenge today. That means you can jump over to Stylin' Stampin' INKspiration and find more shaped cards from the other designers!

Supplies used:
  Cardstock: Soft Sky, Whisper White
  DSP: Fresh Prints Stack
  Stamp set: Perfect Pennants
  Ink: Real Red
  Embellishments: White Baker's Twine
  Framelits: Banners
  Tools: Big Shot, Simply Scored, Paper Trimmer, Paper Snips
  Adhesive: SNAIL


2.04.2014

Technique Tuesday


We've got a fun technique for you today at Stylin' Stampin' INKspiration. It's called 3 In A Row. The idea behind this technique is that you ink your stamp once and then stamp three times.


I've used this technique before to give the illusion of falling leaves or a bouncing ball. If you want to line your images up in a perfect line, I recommend using the Stamp-A-Majig. There's a great tutorial featuring it today at SSINK. I'd also be happy to give you live demonstration of it, if you'd like. It really is a fabulous tool; once you figure out how to use it!

Today's card features many new items from the Occasions Catalog. The star and the greeting are both from the Perfect Pennants stamp set. The greeting was cut out using the Starburst Framelits. Of course, there's that yummy Retro Fresh This & That Designer Washi Tape. A new favorite is the Gold Sequin Trim. The sequins actually come on a string, but you can carefully pull them off and use them individually. They are the perfect size to use a Glue Dot to adhere them. I used the smallest Deco Labels framelits (found in the Annual Catalog) to layer the Tangerine Tango behind the greeting.

Deco Labels

Starburts

Gold Sequin Trim

Retro Fresh This & That Designer Washi Tape

Perfect Pennants

Other supplies used:
  Cardstock: Soft Suede, Whisper White, Tangerine Tango
  Ink: Tangerine Tango, Coastal Cabana
  Tools: Paper Trimmer, Simply Scored, Bone Folder, Big Shot, Magnetic Platform
  Adhesive: SNAIL, Stampin' Dimensionals, Glue Dots

2.03.2014

February Color Challenge

It's color challenge day over at Stylin' Stampin' INKspiration! We hope that our colors and designs will inkspire you. Check out everyone's projects, go create a project of your own, and then link your blog up with ours over at SSINK!

Here are the colors that we're working with today:


Here's my creation:


The base is Pink Pirouette. I measured the stamps that I wanted to use from Countless Sayings 2 so that my cardstock was just slightly larger. The top part of the greeting is 2-1/4" x 1-3/4". The Pink Pirouette and Wild Wasabi pieces are the same size. I laid the "you," "make," and "me" on the cardstock where I wanted them, and then pushed the block down on top of them. This way they were already lined up and saved some me inking, stamping, and cleaning time. The Pink Pirouette and Wild Wasabi for the "Happy" measure 3-3/4" x 1-1/4".

I used the Secret Garden Framelits to cut out the leaves and stamped flower. I trimmed the excess off the stem of the leaves so that it wasn't sticking out from both sides of the flower. The flower image was stamped in Chocolate Chip on Very Vanilla cardstock. I then colored the petals with a Blender Pen and Pink Pirouette Ink; and the center with the Blender Pen and Wild Wasabi ink. Here is a closer picture for a little more detail.


Supplies used:
  Cardstock: Pink Pirouette, Wild Wasabi, Chocolate Chip, Very Vanilla
  Stamp sets: Countless Sayings 2, Secret Garden
  Ink: Chocolate Chip, Wild Wasabi, Pink Pirouette
  Framelits: Secret Garden
  Embossing Folder: Woodgrain
  Tools: Blender Pen, Big Shot, Paper Trimmer, Simply Scored, Bone Folder
  Adhesive: Tombow Multipurpose Liquid Glue, SNAIL