Secret Garden was on of those sets that didn't really strike me in the catalog. I used my downline's during an event we held, and I was hooked! The stamp set and the coordinating framelits were on my next order!
This set is great for many different techniques. Stamping and cutting, embossing, coloring. I wanted to showcase it a little different today. It is also a great set to create your own background paper with.
The color combo of Crisp Cantaloupe, Baked Brown Sugar and Pistachio Pudding was inspired by the Color Coach. The edging on the Pistachio Pudding was created with the Rotary Cutting Blade and the Tiny Scallop Blade.
If you would like some masculine inspiration for this set, you can check out one of the cards I made last July.
Make sure to grab the Secret Garden set and framelits before they are gone forever! Plus, when you click on the image below, you'll find the Secret Garden is on sale, while supplies last!
A glimpse into my stamping home where I will share with you projects and fun techniques using my favorite Stampin' Up! products.
Showing posts with label secret garden. Show all posts
Showing posts with label secret garden. Show all posts
5.23.2014
5.05.2014
May Colors
This is the last Stylin' Stampin' INKspiration color challenge you'll see with Midnight Muse or Summer Starfruit. I'm sad to see them go; but tomorrow my new 2014-2016 In Colors arrive for me to play with. I think I'll survive the heartache!
I created this color challenge combination for fellow DT member Donna. I'll admit, these colors together stretched me a bit. Of course every time one of the other DT members says the same thing to me about one of my color combos, I respond, "isn't that the point of these challenges?"
This was one of those cards that didn't end up anything like it started out. I actually had a dream about a card layout last night, and thought I'd use it on this one. It didn't work out for today, but I'm keeping it in the vault for another day.
I grabbed my three ink pads, and Secret Garden. I'm so sad that it's retiring, I have to use it as much as possible this month! I cut a 2 inch square of Crumb Cake and stamped my flower. I knew I was going to mat that piece, and opted for the Midnight Muse. After that I was at a loss and went to my stamp cupboard for inspiration. I figured flowers go with flowers, so I picked up Petite Petals. I was actually impressed with how well the Summer Starfruit ink showed up on the Crumb Cake cardstock.
I had intended to use a greeting on the front, but when I started laying out my card. I felt that it would be too much and throw the balance of the card off wherever I decided to use it. This layout reminds me of a wall hanging with the picture in the middle flanked by sconces. (Can anyone say "every wall in every home in the late 90s?") By the way, the sconce pieces of Crumb Cake are 1 inch by 3 inches.
I had quite an internal debate about using Midnight Muse or Crumb Cake for the base. I assembled the entire layer and then kept moving it back and forth between the card bases to decide. Abby refused to wake up from her sunny nap and offer her input. I suppose I'm glad for that, her input usually involves eating some part of my supplies. The Crumb Cake base finally won out because I felt that it made the Midnight Muse mats pop a little more. Speaking of pop, the center flower is lifted off the card with Stampin' Dimensionals.
Since I had already brought over Label Love, I decided that I would stamp it on the inside.
As with all of our color challenges, there is a linky tool at Stylin' Stampin' INKspiration for you to link up your own creations using our latest Color Challenge!
5.01.2014
Old & New for Mom
Happy May Day! It's also happy pre-order day if you are a Stampin' Up! demonstrator! I went to the catalog premiere Monday night and received my copy of the brand new catalog that starts June 2nd, and also a brand new set from that catalog for FREE!
I couldn't wait to get home and ink it up. There are so many cute ideas with this set, I can't wait to get them all on paper! In the meantime, here is the first card I made with it; one for my mom.
I've mentioned before that my mom's favorite color is green. I have a tendency to go overboard on green gifts for her; but at least I know she'll like them!
For this card I used Pear Pizzazz, Gumball Green, and Whisper White. The Gumball Green is leaving us, but let me tell you, there are some YUMMY colors for the 2014-2016 In Colors!
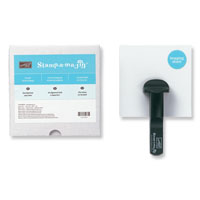
The flower is from Secret Garden, which is also leaving us as part of the retirement list. All of the other stamps used on this card are from Work of Art, the new set I received. I used the Stamp-A-Majig to line up the "splashes." I inked up my stamp with Pear Pizzazz and stamped off once on a piece of scrap paper so that it provided a little lighter background.
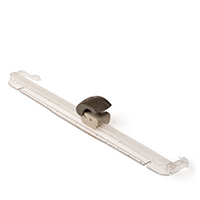
I ordered the Rotary Arm for our Paper Trimmer a month or so ago, but just took it out of the box today. Two observations: why did I wait so long to order it, and why didn't I use it the minute it arrived? I love it! It, along with the scallop blade is how I created the decorative top and bottom of my top layer! I highly recommend it. It's easy to use, looks cute, and is fun to play with!
Would you like some more inspiration for Mother's Day? Head over to Stylin' Stampin' INKspiration!
3.19.2014
Watercolor Wednesday
Since spring won't make up its mind to stick around; I've been pretending that it's really spring with all of my cards lately! Living in the Midwest my entire life, I should be used to crazy weather; however, my patience is wearing thin this year!
Today we are celebrating Watercolor Wednesday at SSINK.
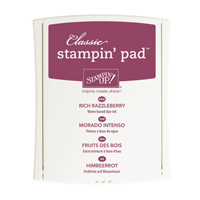
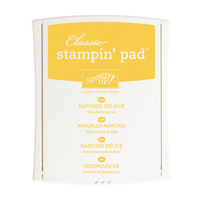
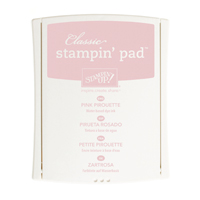
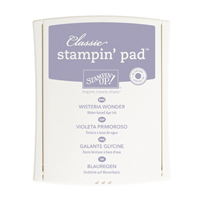
I knew I wanted my flowers to have bold, vibrant colors, so I chose Melon Mambo, Rich Razzleberry, and Daffodil Delight from the Brights Collection to color the main portion of the petals. I wanted to offset the color on each layer with something lighter, so I grabbed Pink Pirouette, Wisteria Wonder, and So Saffron from the Subtles Collection. The center of each flower is colored in using Baked Brown Sugar.
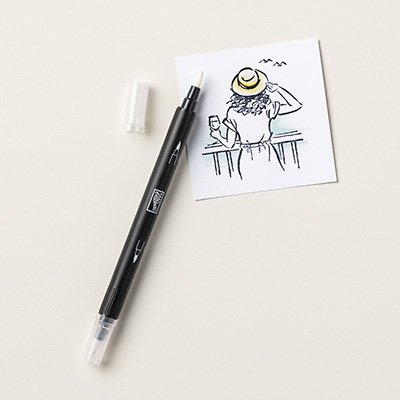
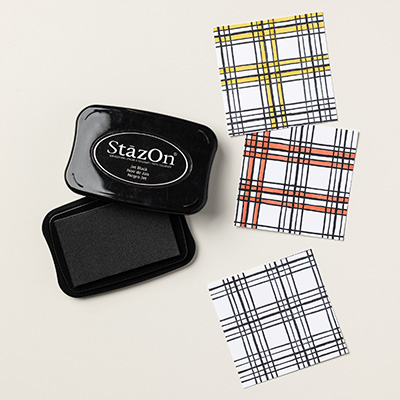
For best results when watercoloring with our fabulous Stampin' Up! products; well you should really use our watercolor paper, but since I didn't have any on hand, I used Whisper White. I stamped my flower images with Staz-On ink. It dries quickly, and won't bleed when using the Blender Pen with your other inks. With the ink pad closed, I gently pushed on the middle of the pad to create a "puddle" of ink on the inside of the lid. I used my Blender Pen to pick up ink from this puddle. Have you used our Blender Pens before? They are great! They come in a pack of 3, however I only used one last night for all those different colors. Once you are done with one color, you scribble on a piece of scratch paper until the output is clear again, and then you can start using it with another color.
To assemble my card, I decided on Pistachio Pudding for the base. Such a great spring color! I used a piece of the Watercolor Wonder DSP that I had printed from MDS for my card last week. I thought about using some washi tape as well, but when I started placing everything on the card, I liked the simplicity of this design and I really wanted my flowers to stand out. I stamped the "friends" sentiment directly on to the DSP. Now I can send this spring-y note card to a friend I haven't spoken to in awhile.
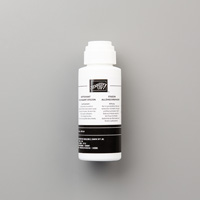
One last thing, if you are using the Staz-On ink, I highly recommend that you get the Staz-On cleaner. I didn't invest in it for many years, and I have many stained stamps to prove it. You cannot tell on this flower image that I ever stamped it with black ink!
2.03.2014
February Color Challenge
It's color challenge day over at Stylin' Stampin' INKspiration! We hope that our colors and designs will inkspire you. Check out everyone's projects, go create a project of your own, and then link your blog up with ours over at SSINK!
Here are the colors that we're working with today:
Here's my creation:
The base is Pink Pirouette. I measured the stamps that I wanted to use from Countless Sayings 2 so that my cardstock was just slightly larger. The top part of the greeting is 2-1/4" x 1-3/4". The Pink Pirouette and Wild Wasabi pieces are the same size. I laid the "you," "make," and "me" on the cardstock where I wanted them, and then pushed the block down on top of them. This way they were already lined up and saved some me inking, stamping, and cleaning time. The Pink Pirouette and Wild Wasabi for the "Happy" measure 3-3/4" x 1-1/4".
I used the Secret Garden Framelits to cut out the leaves and stamped flower. I trimmed the excess off the stem of the leaves so that it wasn't sticking out from both sides of the flower. The flower image was stamped in Chocolate Chip on Very Vanilla cardstock. I then colored the petals with a Blender Pen and Pink Pirouette Ink; and the center with the Blender Pen and Wild Wasabi ink. Here is a closer picture for a little more detail.
Supplies used:
Cardstock: Pink Pirouette, Wild Wasabi, Chocolate Chip, Very Vanilla
Stamp sets: Countless Sayings 2, Secret Garden
Ink: Chocolate Chip, Wild Wasabi, Pink Pirouette
Framelits: Secret Garden
Embossing Folder: Woodgrain
Tools: Blender Pen, Big Shot, Paper Trimmer, Simply Scored, Bone Folder
Adhesive: Tombow Multipurpose Liquid Glue, SNAIL
1.07.2014
Washi Tape Background
Happy Tuesday! I hope you are having a great week so far.
Today I created my own background paper out of Washi Tape for my card. This is a great technique to do if you don't have "just the right" patterned paper that you want to use on your project. I love the colors and patterns in the Retro Fresh Washi Tape now available in the Occasions Mini Catalog. I still had the Bermuda Bay on my craft table from yesterday's card, and it pairs so well with the Tangerine Tango.
I also wanted to give my flower a little pop, so I used a Blender Pen with the Tangerine Tango ink pad to color the folds in the petals.
Supplies used:
Cardstock: Chocolate Chip, Bermuda Bay, Very Vanilla
Stamp sets: Secret Garden, Another Thank You
Ink: Chocolate Chip, Tangerine Tango, Bermuda Bay
Accessories: Retro Fresh This & That Designer Washi Tape, Blender Pen
Tools: Paper Trimmer, Simply Scored, Bone Folder
Adhesive: SNAIL
Thanks for stopping in today. Make sure to come back tomorrow. There's something big happening that you won't want to miss!
11.04.2013
November Color Challenge
First Monday of the month means it's time for another Color Challenge!
In addition to using cardstock in all three colors of the challenge, I also used:
Cajun Craze ink pad and marker
Cajun Craze Candy Dot
Secret Garden and Sweet Essentials stamp sets
Secret Garden framelits
Hexagon punch
Baked Brown Sugar Ruffle Stretch Trim (attached with Sticky Strip)
We would love to have you play along with us at Stylin' Stampin' INKspiration. There's a spot at the bottom of the post there to link your project up with ours!
Subscribe to:
Posts (Atom)


.jpg)


