
While I would say that 90% of my cards are the "standard" A2 card size (4.25" X 5.5"); I sometimes enjoy mixing it up and creating a shaped card. This is super simple to do with my Big Shot and any of the Framelits that Stampin' Up! has to offer. Today I chose the Banner Framelits currently available in the Occasions catalog through May 31st.

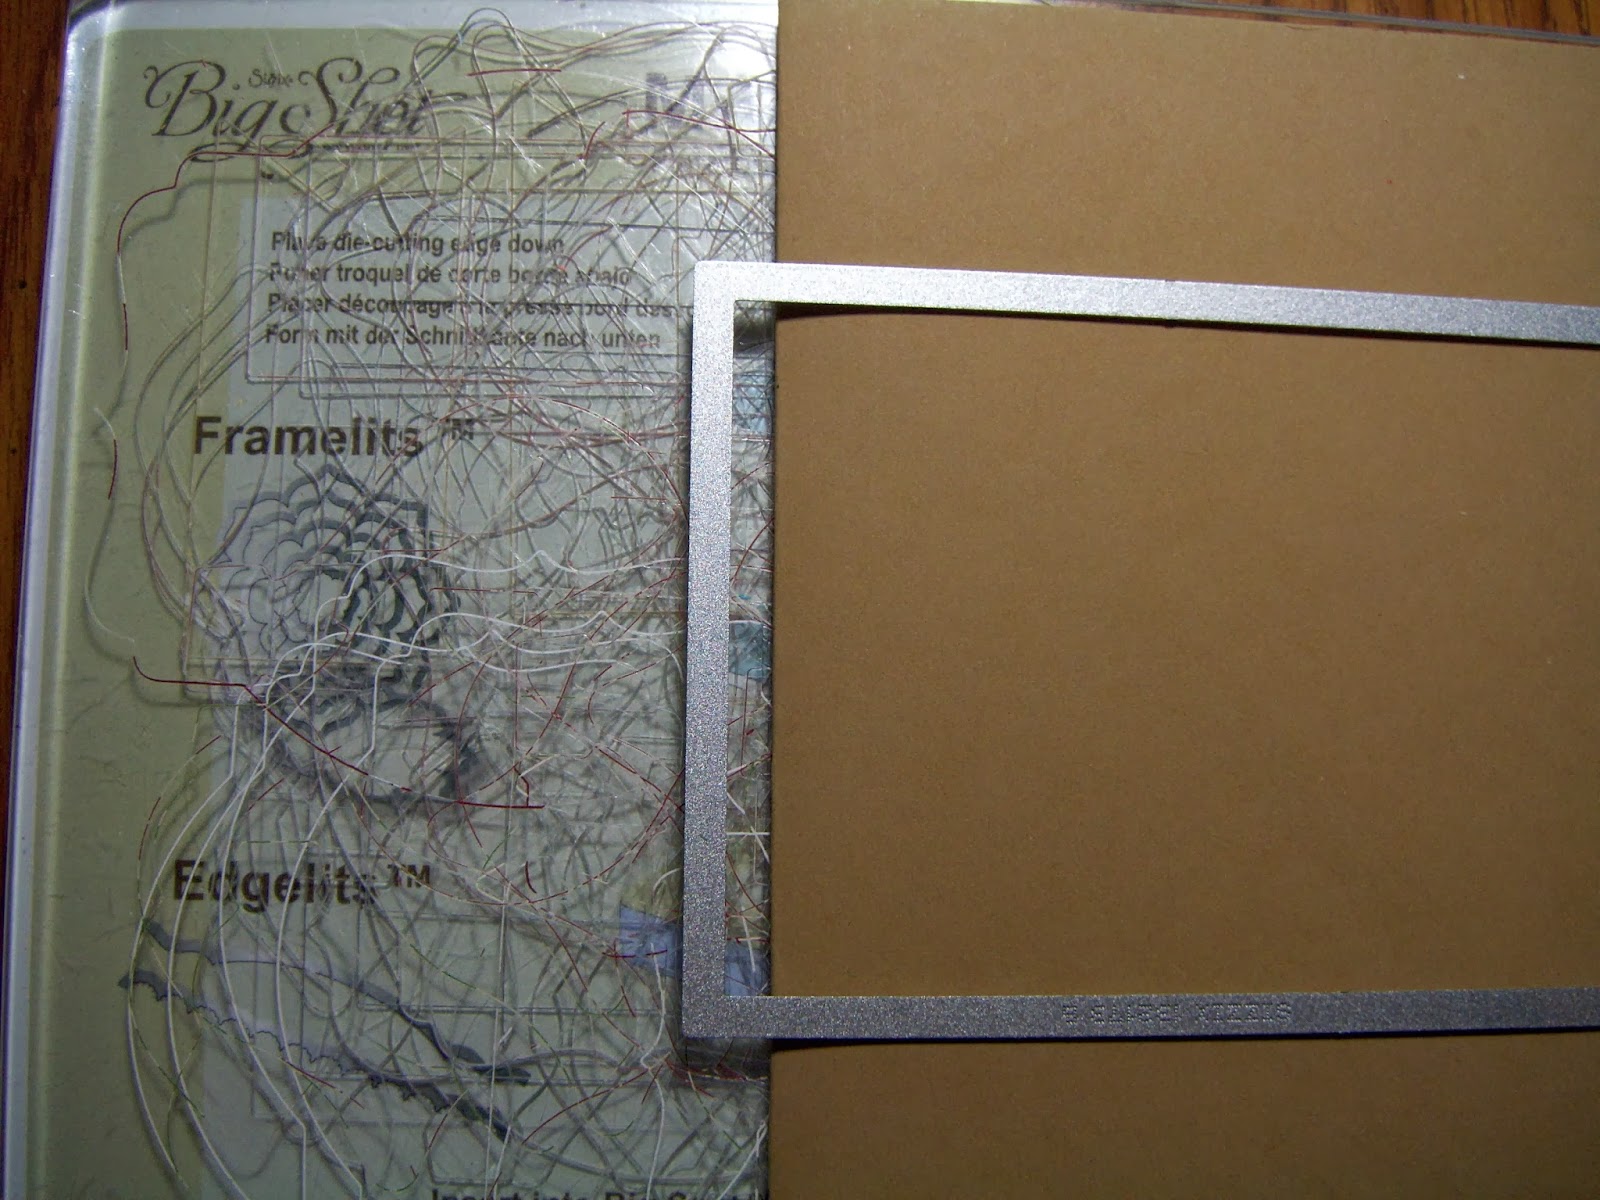
To create a shaped base, you score and fold your cardstock just as you would for any other card. Build your "sandwich" on your cutting platform. For the shaped cards, I highly recommend using the Magnetic Platform so it doesn't shift and you end up with a lopsided card. When placing your framelit on the cardstock, you want the end by your crease to actually be off the top of the crease. This way when it cuts, you still have a creased card.
Perhaps a picture will make it more clear. (Yes my cutting plates are well-loved!)
I used the largest banner in the set for the base. I used the next to smallest one to cut three different patterns from the Fresh Prints Designer Series Paper Stack. The greeting is from the Perfect Pennants stamp set, which coordinates with the Banner Framelits. In fact, you can buy them together in a bundle and save 15%! I used the stamp-off technique on the greeting, which gave it more of a worn look to match the DSP. To stamp-off, ink up your stamp, stamp it on a piece of scratch paper and then stamp on your cardstock without reinking.
I made this card for our Design Team challenge today. That means you can jump over to Stylin' Stampin' INKspiration and find more shaped cards from the other designers!
Supplies used:
Cardstock: Soft Sky, Whisper White
DSP: Fresh Prints Stack
Stamp set: Perfect Pennants
Ink: Real Red
Embellishments: White Baker's Twine
Framelits: Banners
Tools: Big Shot, Simply Scored, Paper Trimmer, Paper Snips
Adhesive: SNAIL
Great idea using the banner for the shape of the card! Great job!
ReplyDeleteThanks, Cynthia!
DeleteLove this! I might have to try it!!!
ReplyDeleteDo it!
Delete